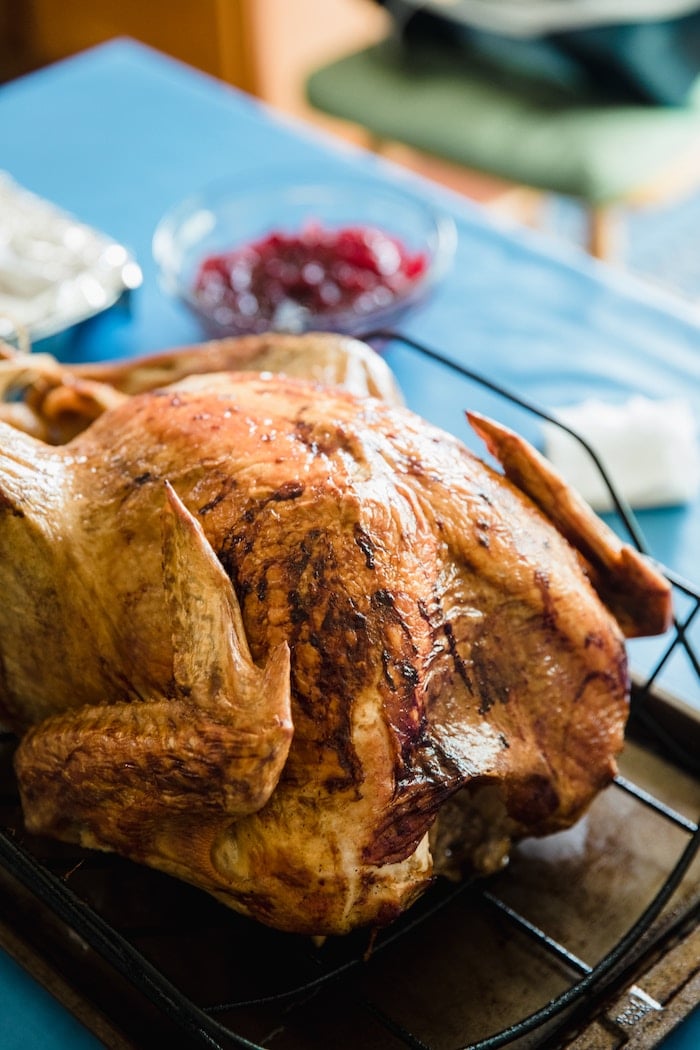
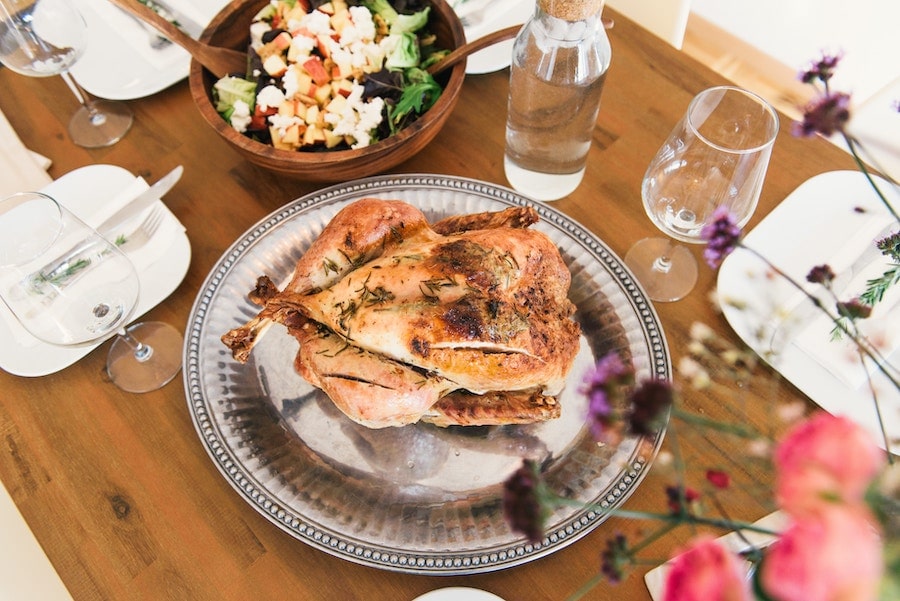
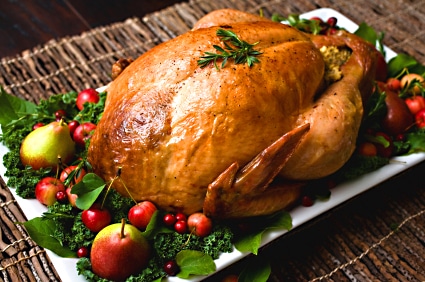
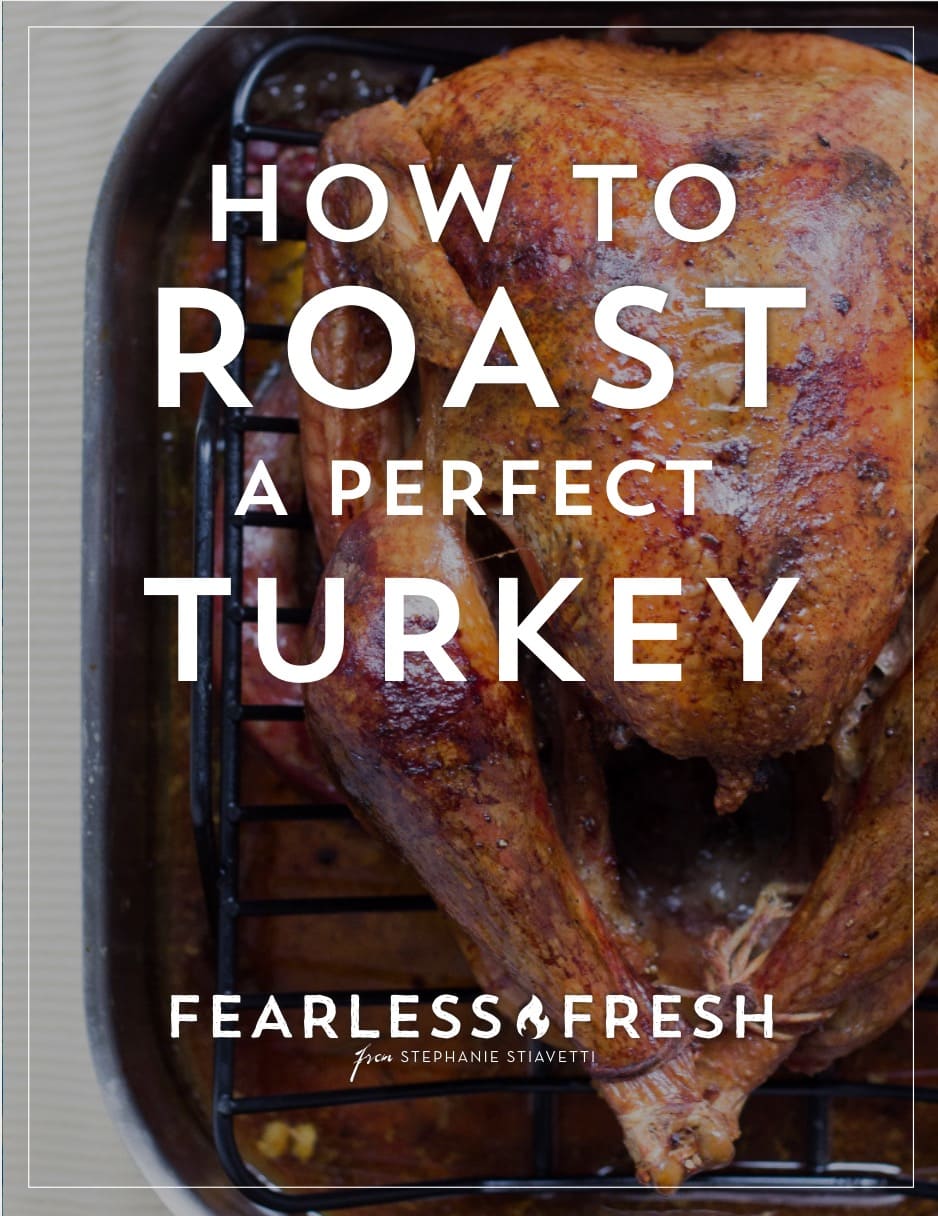
Learning how to roast a turkey in the oven is actually incredibly easy when you get the hang of it. This article will help you roast your bird to perfection and figure out how long to roast your specific turkey. You’ll also learn the best way to prepare it before putting it in the oven.
And, be sure to download my free Guide to Roasting A Perfect Turkey!
It’s that time of year again. Recipe sites quake with people searching for stuffing recipes and other Thanksgiving side dishes, macaroni and cheese casseroles start dancing in our heads, and everyone starts asking how to roast a turkey.
I can’t tell you how many questions I get every year from people who are completely intimidated by the idea of roasting turkeys in their ovens. Most of these people are great cooks, and in fact, have no problem roasting a chicken; but give them a bird over three pounds and apparently their earlier bird-roasting experience goes out the window. Perhaps the problem is that they are presenting their roast turkey to anywhere from five to 20 picky people. Or maybe it’s the fact that your dinner investment suddenly went from $9 to $45.
Or maybe it’s the sheer magnitude of the bird… which is a hell of a lot larger than your everyday chicken.
Regardless, roasting a big turkey is actually just as easy as roasting a little chicken. It might take a little longer, but in the end, there’s no reason why you can’t have a tender, delicious, drama-free dinner.
How to roast a turkey — which bird?
First of all, let’s talk turkey selection. You don’t need to start with the perfect bird to end up with a finished product you can be proud of. That said, I will always endorse a free range, organic option, which I think in the end will not only tastes better, but will also support the kind of world we want to live in the future. But if you can’t afford a $50 locally farmed, pasture raised turkey, you can still pull off the perfect Thanksgiving bird pretty easily.
Now, if you don’t have a turkey yet, I want you to buy one that does not have any salt added to it. Companies LOVE to inject commercial turkeys with all sorts of things like salt, sugar, flavoring, food dye (yes, really), and more.
How do you know if a turkey has all of these things in it? Easy: look at the ingredients. If it says anything other than “turkey,” or the nutritional information contains salt and/or sugar, then you’ve got an additive-laden bird.
IMPORTANT: If you already have a turkey at home with additives added, don’t panic! It’s fine! Keep reading for what to do with it.
Is your Thanksgiving turkey frozen?
I can’t tell you how many times I’ve heard of people pulling a golden-brown turkey out of the oven only to find the middle is still frozen. Here’s something you need to know: a 6 – 12 pound frozen turkey will take a few days to defrost. A fully thawed turkey will be soft all the way to the middle.
Here’s the deal, though: you can’t leave it out at room temperature for very long before salmonella and other beasties start becoming a concern. Basically, turkey should not stay at room temperature for very long, otherwise it becomes a food safety nightmare. So! You always want to defrost your turkey in the refrigerator.
Usually three days will do the trick if the bird is under 10 pounds, but if you’ve got a gargantuan frozen turkey of 13+ pounds, you want to put it in the refrigerator four or five days before the morning of Thanksgiving. Yes, that means removing the turkey from the freezer and putting it in the refrigerator on Saturday or Sunday morning.
Also, be sure to put your turkey in a large pot, pan, or bowl that will contain it all and not allow juices to drip out while it defrosts. It’s best to put it on the bottom-most part of your refrigerator so that any juices that drip won’t contaminate the rest of the food in your fridge. Also, a heavy turkey can stress (and break!) refrigerator shelves, so it’s good to rest it on the bottom of the fridge where it’s more secure.
Dry brine or wet brine a turkey?
FIRST!!! Do NOT brine a turkey that has been injected with salt or it will be too salty. This includes both the dry brining or wet brining methods. A little salt and pepper on the skin before you cook is all you need. If your turkey contains any “ingredients” on the label besides just turkey, it likely has already been salted by injection.
Now, onto how to brine a turkey. Every year I witness a battle between Camp Wet Brine and Camp Dry Brine. Ultimately they yield similar results. The big difference is that wet brining requires a huge pot large enough to hold the turkey PLUS enough water to cover it, while dry brining doesn’t take up any extra space.
This is why I prefer dry brining. You literally coat the turkey with salt, sugar, and spices. That’s it.
For wet brining you have to bring a huge pot of water to boil, add all of your ingredients, then COOL the water, and finally submerge the bird. Oh and you have to keep all sides of the turkey underwater.
So you either need to employ something heavy, like a brick, or else use a brining bag and squeeze all of the air out so there are no air bubbles. And, at some point, you’ll want to flip the turkey over to make sure it’s brined evenly.
Are you suddenly a fan of dry brining?
Dry brining ratio and method:
Here’s the ratio for dry brining. For every 8 pounds of turkey you’ll need:
- ¼ cup kosher salt
- 2 tablespoons brown sugar (white sugar works fine, too)
- 1 tablespoon black pepper
Flavorful extras you can add (mix and match — pick three from this list):
- 1 tablespoon chopped fresh sage
- 2 teaspoon finely chopped fresh rosemary
- 1 tablespoon chopped fresh thyme
- 1 tablespoon finely grated orange zest
- 2 teaspoons finely grated lemon zest
- 1 teaspoon ground star anise
- 1 teaspoon smoked paprika
- ½ teaspoon onion powder
- 10 juniper berries, ground to a powder
Dry brining instructions:
Mix everything in a bowl and let sit for 30 minutes. Rub all over your turkey (or chicken!) and let rest in the refrigerator for 2-4 days.
Details on dry brining
Most importantly, you want to dry-brine AT LEAST two days before Thanksgiving, ideally three days, or four days for a huge bird. See below for a brining schedule that also includes defrosting time.
I like using using KOSHER SALT. There’s a reason for this. Kosher salt is just salty enough, without being too salty… while iodized salt can oversalt your bird in the same ratio. Kosher salt is cheap. You can get a big box from Trader Joe’s for like $2.
You’re also welcome to use dried or fresh herbs for brining your turkey, but I prefer fresh since they are more flavorful. Just chop them up finely. You can also add dry spices that have been ground to a powder.
Then, just cover the entire bird inside and out with the brining mixture. Get every little nook and cranny. Then, pop it in a bowl or roasting pan and set it in the refrigerator.
It’s also worth noting that you can also brine your individual turkey pieces if your bird has been cut into pieces. You can also brine just a turkey breast or turkey leg on their own. (Same goes for chicken, FYI!)
Cover your turkey in the fridge
I generally cover my turkey while it’s in the fridge, to turkey juices from getting all over, but taking the plastic wrap off the night before you cook it. This will help the skin dry out and become extra crispy.
When you take the turkey out of the fridge an hour before you roast it, give it a good rinse to get all the salt and spices off. Everything you need has already been absorbed into the turkey, and leaving the surface salt on will make it WAAAAAYYYY too salty.
FYI, your turkey needs to be at least halfway thawed before you dry brine it. So, if you start brining it Monday night, it needs to come out of the freezer and go into the fridge on Sunday morning.
If you’re brining a 14+ pound bird, it will likely need four to five days of brining to let the salt penetrate the meat. That means you’ll want to take it out of the freezer three days before brining. The good news is that brining also helps preserve the turkey, so bacterial growth from it sitting in the fridge becomes less of a problem.
Here’s a schedule for Thanksgiving week, with Thursday being the day you cook the turkey:
Frozen turkeys under 10 pounds:
- Four days before Thanksgiving (Sunday morning): Take out of freezer and put in fridge
- Three days before Thanksgiving (Monday): dry brine turkey
Frozen turkeys over 10 pounds:
- Five days before Thanksgiving (Saturday morning): Take out of freezer and put in fridge
- Four days before Thanksgiving (Sunday): dry brine turkey
Keep the breast moist and thighs fully cooked
There’s a lot of consternation when it comes to dry turkey breast and undercooked dark meat. Reality is that the breast dries out faster than the thighs, because dark meat is biologically more able to hold onto moisture. So how do you get the thighs done without drying out the breast?
- You have a few options:
- Cut the bird into pieces
- Spatchcock or butterfly the turkey
- Cut off the breast when it’s done and keep cooking the thighs
- Start the bird breast down and flip it over halfway through roasting
My personal preference for chickens is the last one, starting the bird breast-down and then flipping it over when it’s half-cooked. Problem is, flipping over a searing-hot 14-pound turkey that’s covered with fat and salt is NOT GOOD TIMES.
So if you have a smaller turkey, say 8-pounds or smaller, I recommend starting the bird breast-down. This allows the thighs to cook faster because they’re exposed to more hot air, while the breasts are protected by the pan. Then when you flip the turkey over, the breast get exposed to that same hot air, and the mostly-cooked thighs are protected by the pan. It usually works out pretty well.
If you’ve got a big bird, spatch-cocking is your best best, assuming your oven is large enough to accommodate the splay-ed out bird… which will take up a lot more horizontal space. This cooks the bird in a flat layer, so everything is exposed to the same amount of ambient heat.
In the end, the easiest route (read: less high-maintenance) is to cook the bird breast-up, and once the breasts hit 150°F (66°C), remove them from the turkey and cover them with foil. Then keep cooking the bird until the legs and thighs also reach 150°F (66°C).
Bringing turkey to room temperature before roasting
It’s always good to start with a slightly warmed-up bird before roasting, but as I mention above, poultry is a food safety cluster f***. It’s ill-advised to leave it at room temperature for hours.
I recommend you take the turkey out of the refrigerator ONE HOUR before you put it in the oven. No more than that. One hour is enough time to take the edge off the cold, while also making sure it’s not at room temperature long enough to breed bacterial bad guys.
Should you stuff your turkey?
Short answer: NO.
If you stuff your turkey with stuffing or dressing, it’s nearly impossible to make sure the stuffing is at a safe temperature to eat unless you remove it from the bird and finish cooking it on its own. Poultry is especially dangerous when it comes to bacteria like salmonella, so anything that touches the raw bird needs to be cooked to 160°F (71°C) to make it safe to eat.
In order to cook the stuffing or dressing to 160°F (71°C), you’d need to cook the turkey EXTRA long, which would most certainly dry out the meat.
In the end it’s easier, safer, and results in a more desirable meat texture if you just cooking the stuffing on its own, outside of the turkey.
Oven tips for turkey roasting
You want to preheat your oven for at least 30 minutes before you put the turkey in. Ovens take longer than you think to come to temperature, and the thermostat will LIE and say it’s at full temperature after 15 minutes, when it’s not.
I recommend getting a cheap oven thermometer, which cost like $5 at Target or on Amazon. Seriously, you may be surprised to find out that your oven is a lying liar, and exactly how much it lies. If you’re one of the few people who actually has an oven with an accurate thermostat, give that appliance a blue ribbon for honesty!
Cooking many things in the oven at once
One more oven-roasted tip for turkeys. Don’t cram a bunch of stuff in the oven with your turkey. The more things you put in the oven, the longer it will take all of them to cook.
Besides the fact that every cool thing you introduce to the oven lowers its ambient temperature, every pan, sheet, or pot you put in there basically acts like a wall against heat. So if you slide a sheet pan full of veggies in your oven, you’ve basically walled off the heat in one area. Your oven will have to work harder to move heat around that wall, leaving you with hotter and cooler spots in your oven.
Which roasting pan to use?
Honestly, it doesn’t matter much what pan you use. You can use a roasting pan, a baking sheet with higher sides, an enormous cast iron skillet if your turkey will fit in it.
One thing you DO want to do, regardless of the pan you use, is lay a rack down before adding the turkey. This will allow the bird to cook more evenly as heat moves around it and keep the skin from sticking to the bottom of the pan. It will also allow the juices to drip into the pan, which you can then use to make a pan sauce.
How long do you roast your turkey?
FYI, all Thanksgiving turkey recipes are not the same (if you can even call the technique of roasting a turkey a “recipe”). The roasting time will vary depending on the size of your bird, the size of your oven, how old and efficient your oven is, and any other items you may have stuffed in the oven at the same time.
I recommend roasting a turkey at 400°F (204°C) for perfect texture and crispy skin. If the turkey is the only thing in the oven, it should take two hours to up to six hours. I also recommend rotating the turkey 180° once an hour to make sure it cooks evenly. If your oven is large enough to allow you to rotate it 90° every hour, do that!
Is the turkey done?
Your best friend here is a probe thermometer, the kind you stick in the oven and attach to an alarm. These AMAZING devices are like $15 at Walmart and will save your butt when it comes to roasting a turkey.
All you need to do is stick the probe in the thickest part of the turkey (the breast), making sure to keep it away from any bones that might throw off the temperature. Then you set the temperature alarm for 145°F (63°C). You’ll know it’s done when it beeps.
You might be thinking, “145° isn’t a safe temperature for poultry!” But here’s the thing: it will keep cooking after you take it out of the oven. After you remove the turkey from the oven, cover it with foil and let it sit 20 minutes. The bird will continue to cook for that entire time and hit a PERFECT 160°F (71°C), and NOT overcook. You’re welcome!
Cliffs Notes turkey roasting tips
Below are the cliff’s notes tips that will help you roast your Thanksgiving turkey to perfection. These tips will also apply to roasting a chicken to absolute perfection, since turkeys and chickens aren’t all that different. The biggest difference is size, so a chicken just cooks for less time using the exact same method and techniques.
This is all common sense advice if you really think about it, but for whatever reason people seem to lose their minds when it comes to making Thanksgiving dinner. If you have any of your own advice on how to roast a turkey, please, PLEASE, I implore you, leave a comment at the end of the post. My goal is to create a pseudo-database of turkey tips (I have no idea why find that phrase so funny) that people will be able to refer to into perpetuity.
And if you’ve got a tiny oven, be sure to check out what happens when you cook a turkey in a small oven.
Video on how to roast a turkey
If you prefer video, I’ve gone over all the best points of roasting a turkey in this video:
How to Roast A Turkey In the Oven — How long and how to prepare it
Equipment
- Roasting pan
- Roasting rack
- Probe thermometer
- Chef's knife
Ingredients
- 1 turkey!
Instructions
- First things first: thaw your bird completely before putting it in the oven... but do NOT thaw it at room temperature. Thaw it in the fridge for a few days — up to four or five, depending on the size of your turkey.
- 400°F (204°C) is the perfect temperature for cooking a whole bird. You'll get crispy skin without compromising tenderness.
- Depending on the size of your bird, it should take anywhere from 2-6 hours to roast at 400°F (204°C). I highly recommend a meat thermometer, one that stays in the turkey while it cooks and lets you set an alarm for when it reaches the proper temperature. This keeps you from continually opening the oven door, which will greatly increase your cooking time.
- Basting the bird won't give you crispier skin. In fact, you'll get limp, soggy skin and it only marginally affects the flavor.
- Some argue that rubbing the entire bird with fat, inside and out, doesn't affect the flavor, but I disagree. It depends on the fat, though - olive oil won't give you a flavor boost, but butter mixed with a heaping dose of salt and herbs will yield a tasty dish indeed.
- Stuffing some butter (mixed with salt and herbs) under the skin will help flavor the meat, but don’t go overboard. Too much fat will just make the meat greasy.
- They (whoever "they" are) say that you're supposed to cook a whole turkey to the internal temperature of 180°F (82°C), but I find that 160°F (77°C) yields a perfectly moist bird that's still cooked completely through. Make sure to measure in the thickest part of the breast.
- Also, remember that the bird will carry-over cook for 20-45 minutes after you take it out of the oven, so you want to cook it to about 145°F (63°C) to 150°F (66°C), then let it come up to temperature as it rests, covered lightly with foil.
- The thighs and other dark meat will take longer to cook, especially if you roast the bird breast-side up. You can butterfly your turkey or roast it in separate pieces for more even cooking. I’ve also had great luck removing the legs and thighs once the breasts are done, and roasting the thighs and legs longer on their own. You’ll still need to let them rest for 20 minutes or so once you pull them from the oven.
- It doesn’t matter if you roast your turkey breast up, breast down, flipped over halfway through, or hanging from the rafters — no position will make the breast more moist IF YOU DON’T PAY ATTENTION TO THE TEMPERATURE.
- Don’t put stuffing or dressing inside your turkey. This can lead to all sorts of holiday misery — namely salmonella. If you insist on stuffing your bird, remove the stuffing as soon as the meat is done and cook the stuffing to 160°F (77°C) in a pot on the stove.
- Let your bird rest for a few minutes after you take it out of the oven. A good 20 minute nap will let everything settle and keep the moisture where it belongs: in the meat.
- The easiest way to guarantee that pieces of breast will be moist is to let them soak in the bird's juices for a few minutes after they've been cut. This includes the fatty runoff from what you've rubbed over the surface or stuffed under the skin.
- You want the entire bird to roast evenly and have crispy skin all over, so consider elevating it off the surface of the roasting pan. A good-sized roasting rack will do the trick, which allows air to circulate under the bird, crisping it all the way around.
- Get two decent thermometers: one for measuring the turkey, and one for measuring your oven’s temperature. ‘Nuff said.
- Don’t waste the juices in the bottom of the pan! Reduce in a saucepan with some white wine and fresh sage, add a little cornstarch, and you’ve got an amazing gravy.
- And what do you do with the leftover turkey the next day? Make turkey minestrone soup, of course!
Video
Notes
Nutrition
This content was originally posted on FearlessFresh.com.

