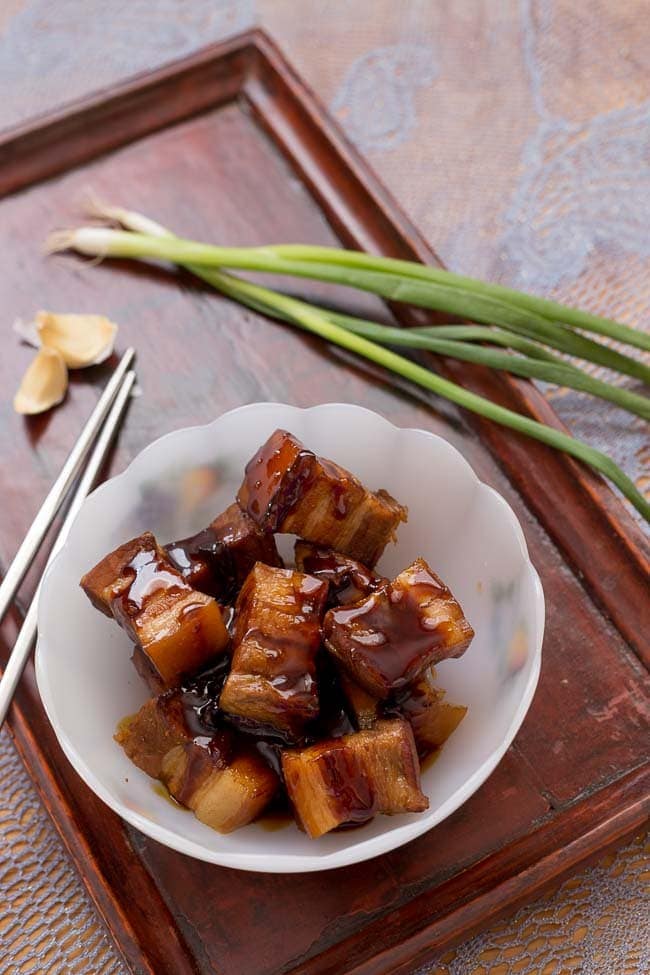
– Red-cooked pork belly, a Chinese home favorite –
I’m super excited to share this red-cooked pork belly recipe from a new cookbook called Phoenix Claws and Jade Trees: Essential Techniques of Authentic Chinese Cooking. A complimentary copy of the book was provided for me for review, as well as a 12.5″ covered stir-fry pan from Anolon. Amazon links below are affiliate links.
When you’ve got over a thousand cookbook, as I do, it’s easy to get bored with new ones. I feel like I literally (figuratively :P) have them all, so these days when I find myself drifting over to the cookbook section of my local bookstore, it’s more with a sense of boredom than anything else. I wrote about my growing cookbook ennui back in 2010, and my enthusiasm has only waffled further in the six years since.
It takes a lot for me to even pick up a cookbook these days, and when I do, I’m hoping for something new, something smart, something… special. Sadly there’s not a lot of that in the cookbook market lately. Every single subject out there has been done to freaking death. I’m over it.
So, then, you might be wondering why I’m here writing about a new cookbook. That would be a good question, my ninja friend.
A few weeks ago I got an email from Kian Lam Kho, who writes about Chinese cooking over at Red Cook, mentioning that his new book had come out: Phoenix Claws and Jade Trees: Essential Techniques of Authentic Chinese Cooking. I’d met Kian at a conference and instantly liked him, his affable nature winning over my general urge to hide at big events — which is kind of a big deal. If there’s one potential exception to my curmudgeonly dismissal of cookbooks, it’s usually for the books of smart friends and colleagues. (Plus I’ve also got a deep love for homemade Chinese food — especially red-cooked pork belly.) So I agreed to receive a copy.
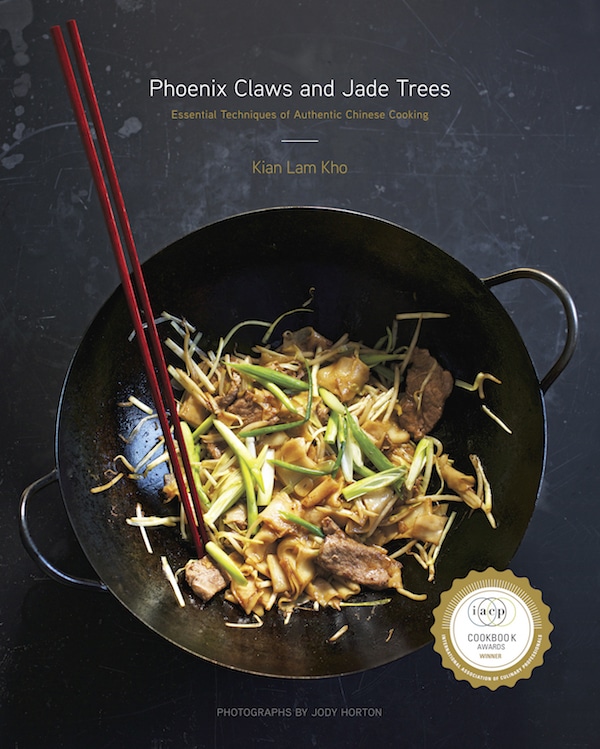
The book arrived while a few people were over at the house, so it was opened quickly and passed around. Before I’d even had a chance to flip through it my guests were ooh-ing and aah-ing over the photography, exclaiming the names of dishes, and picking out which recipes I’d be making for them. (Thanks, guys.) Once I’d finally gotten my own hands onto the book, I’m excited to say that I was, well, excited. More than I had been over a cookbook in a long time.
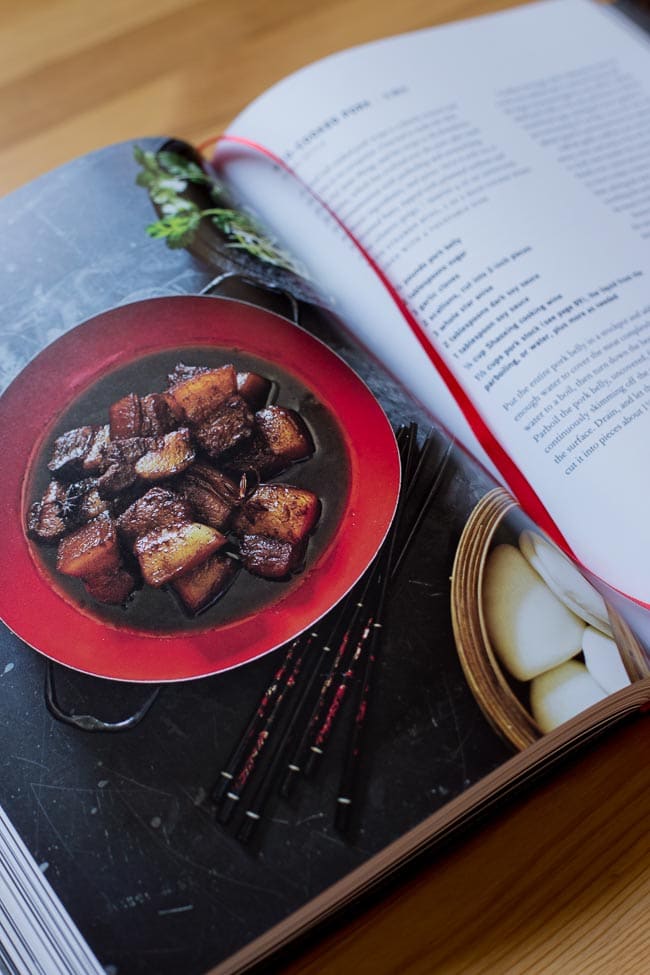
This is the red-cooked pork belly photo in the book. Hello!
The photos are beautiful, yes, but the book itself has a certain soul that many lack these days. You can feel Kian’s love for these dishes, and his deep understanding of Chinese culinary culture. And, there’s so much historical and culinary information here that it’s just a good read in general. Curious about traditional knife skills in China? Check. Been hankering to explore multiple different kinds of frying in Chinese cuisine? You’re all set. Ever hoped for an exhaustive explanation of all the ingredients in Chinese home cooking? You’re in luck. Want to know how and why many Asian cultures pre-boil their meat? That’s here, too.
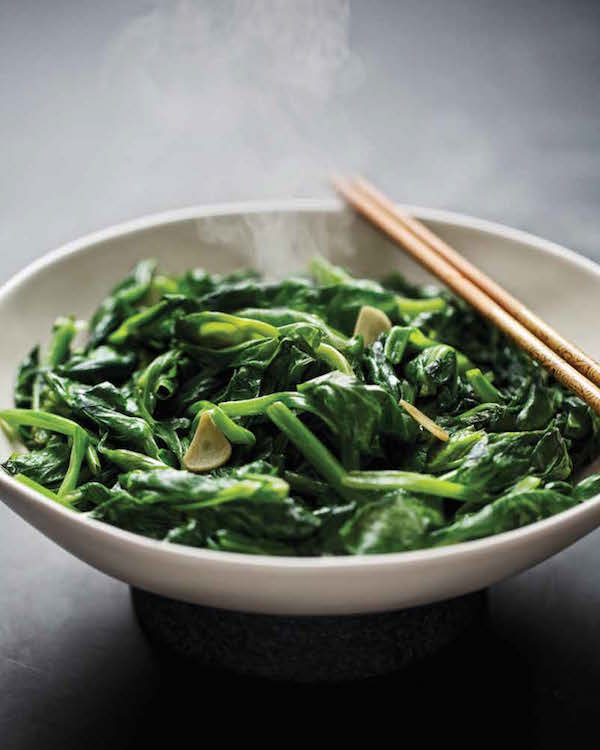
I’ve made a few of the traditional Chinese recipes from the Phoenix Claws and Jade Trees, including the Stir-Fried Beef, West Lake Vinegar Tilapia, and Kian’s Red Cooked Pork recipe. (I’ll be sharing that last one with you below.) All were absolutely packed with flavor and surprisingly easy to prepare. Many Americans believe that cooking traditional international dishes is complicated, and when I’ve asked around, a lot of folks believe that Chinese food is just too hard to make. Well, Kian’s here to tell you that’s just not the case.
Deliciously traditional Chinese food is as simple to prepare at home as it is to make your American favorites. Seriously. I threw together the tilapia in 20 minutes, and half of that time was spent waiting for the water to boil. In fact, a lot of these recipes come together so easily that I’d say they’d be perfect for beginner cooks. Add to that the fact that many of the more involved recipes in Phoenix Claws and Jade Trees come with multiple tutorial photos, and I’m pretty sure that almost anyone can cook from this book, even if you’re not super experienced in the kitchen.
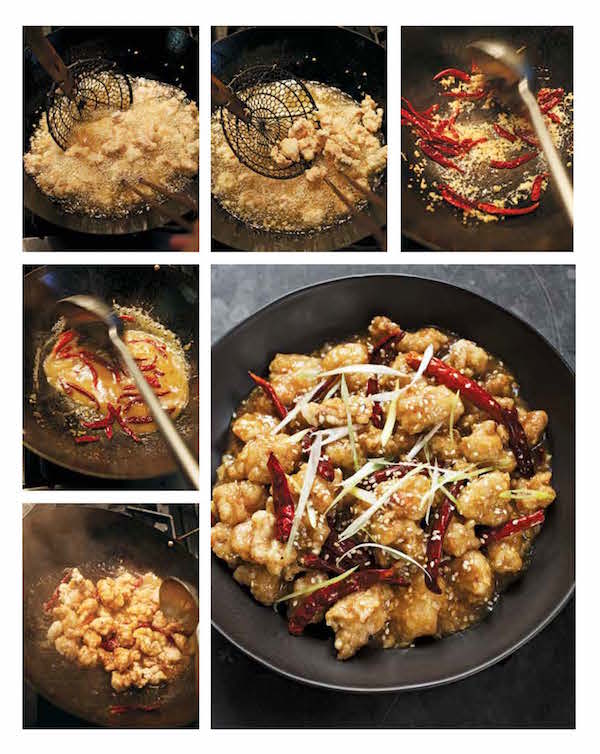 – The tutorial images make this great for beginners. –
Besides the book, I should also mention this SUPER SEXY 12.5″ stir-fry pan from Anolon. This pan cooked up the red-cooked pork belly like a champ, with it’s thick copper core base and flat bottom (so I can use it on my glass cooktop, which is usually not wok-friendly). Any stir-fry lovers out there stuck with a glass-top stove really needs one of these things.
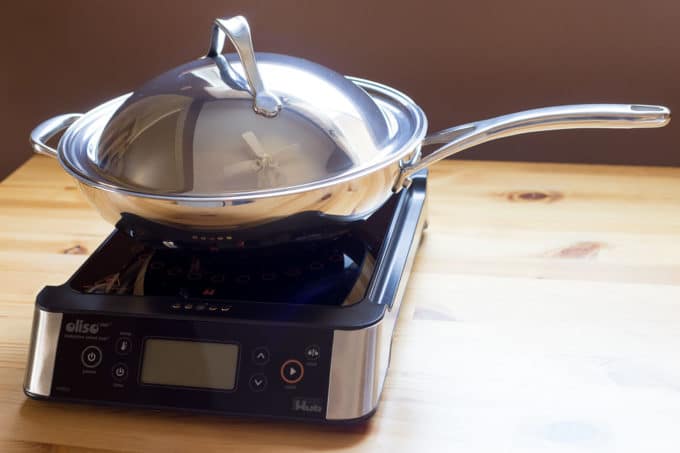
– Well hello, you sexy beast. –
I heartily recommend Phoenix Claws and Jade Trees. It’s a perfect introduction for anyone who wants to learn how to cook traditional Chinese recipes at home, and it’s a beautiful book that you’ll love reading just because. I guarantee you that if you have this book sitting on your coffee table, any guests you have will instantly start flipping through it and demanding you cook for them. ;)
A note on affiliate links
Note: some of the links in this post are affiliate links. If you click them and make a purchase, I’ll get a very small percentage of the purchase price. Thanks for helping me keep the lights on and pay my cookbook storage bill.
Red-cooked pork belly recipe steps
This dish is a traditional red-cooked pork belly recipe, also know as red-braised pork. Braising is what we call the method of cooking something slowly in liquid, and since you’ll be slow-cooking the pork chunks in a mixture of wine, soy sauce, and meat stock, this definitely counts as a braise.
For the beginners out there, I’ve included some photos of how I went about cooking the dish. I hope these are helpful.
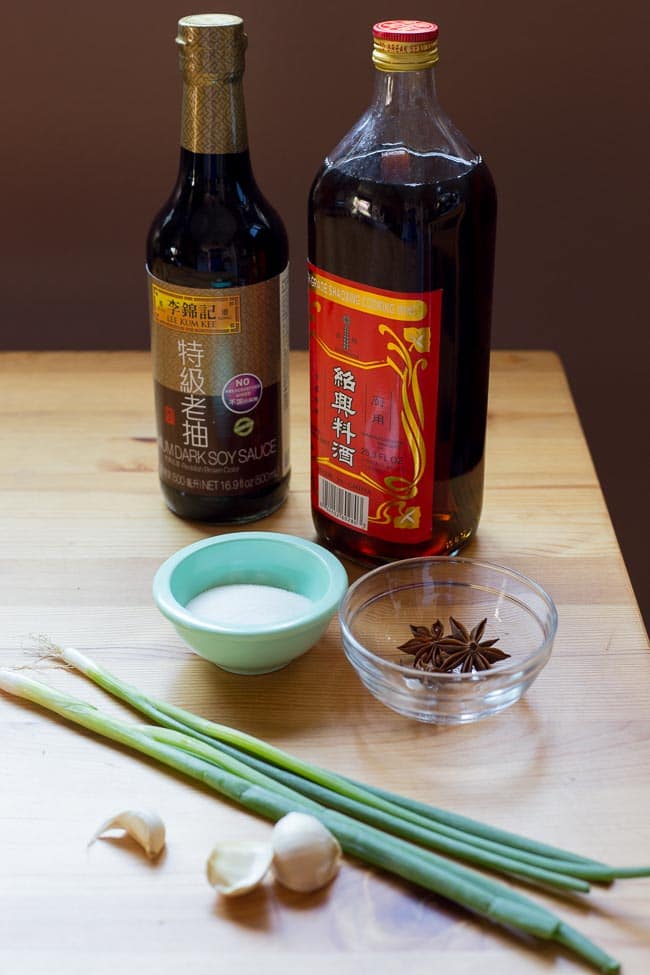
A handful of ingredients, so you know what to look for at the Asian market. That’s dark soy sauce on the left, Shaoxing cooking wine on the right.
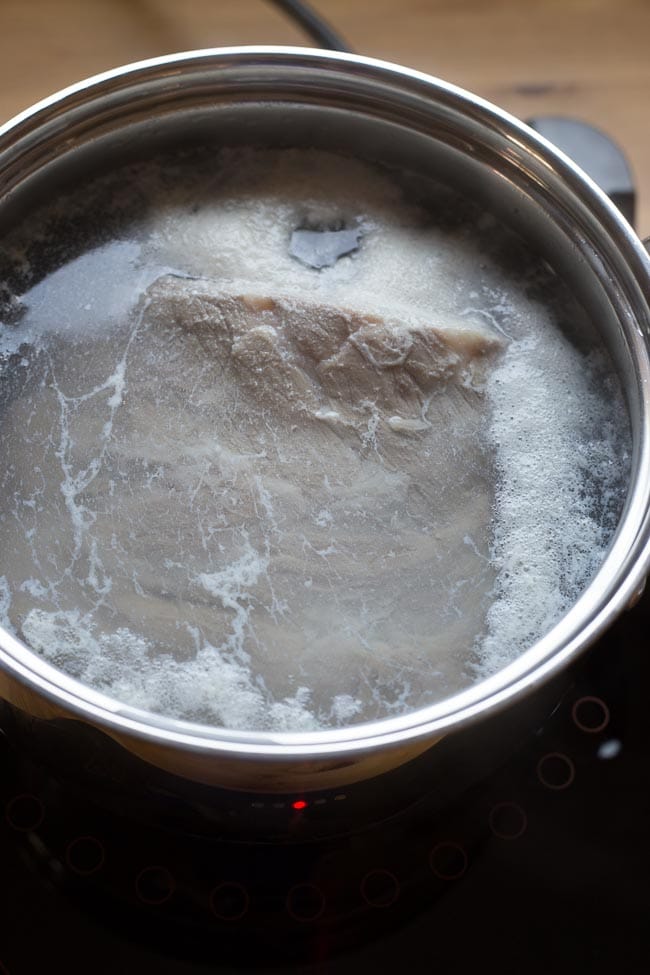
Ever wondered WHY Asian countries pre-boil their meat? See all that foamy schmutz on the surface of the water? That’s why. You want to skim off all the weird impurities and coagulated protein before you eat the meat, otherwise this would cloud up your finished red-cooked pork belly dish.
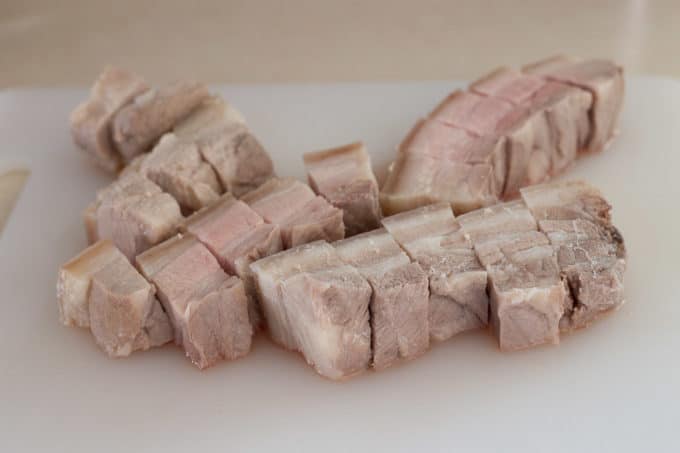
Pork belly cut into 1 1/2-inch chunks. You want to leave all the layers of pork belly in tact, from top to bottom, so don’t cut them in half to make them shorter.
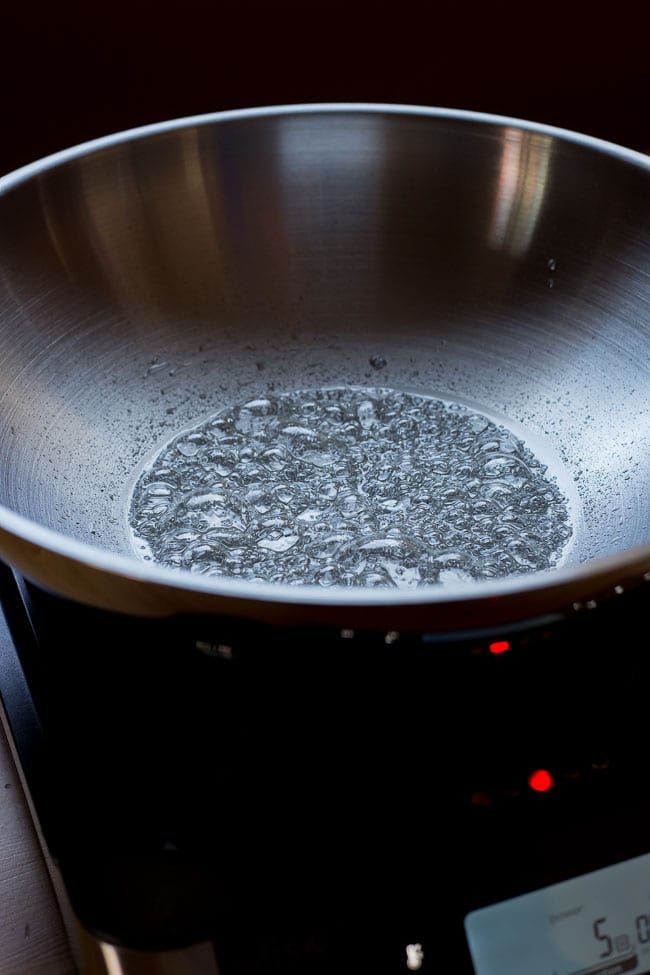
This is the sugar just beginning to boil and thicken. You’ll want to cook it until it just starts to turn yellow. Do not walk way during this step or it WILL burn.
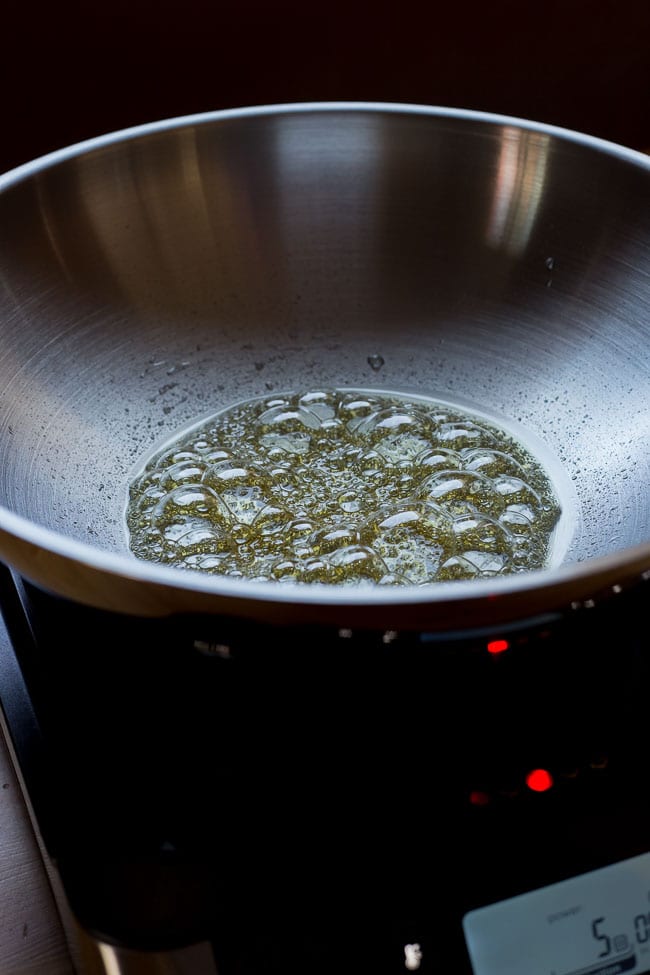
See how the sugar is starting to turn yellow? This is when you add your pork! Don’t push the sugar past this or it will burn very quickly. Then you’ll have to pour it out and start over.
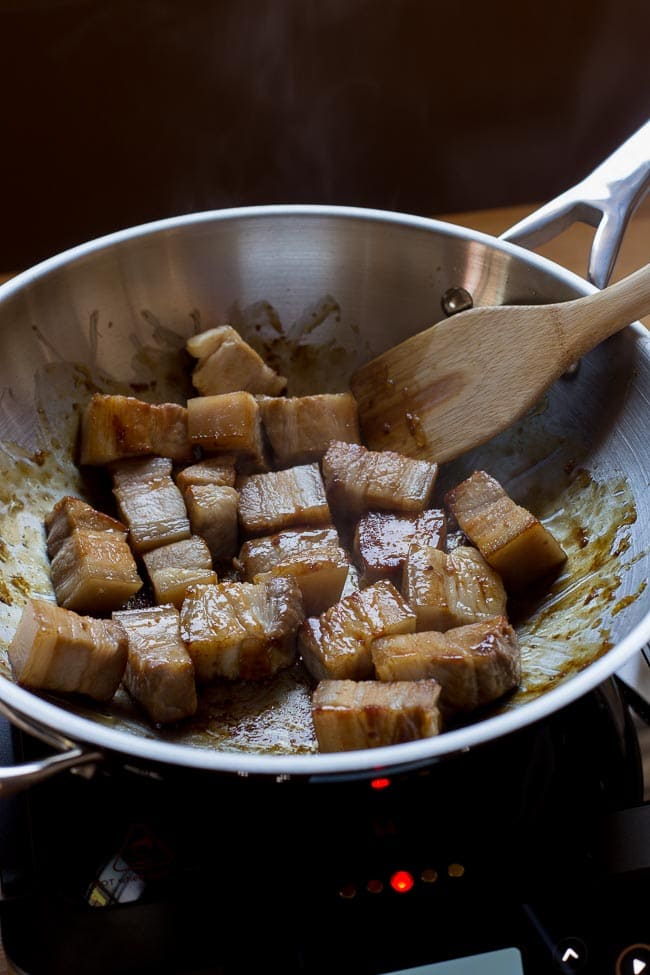
Browning the pork in the caramelized sugar.
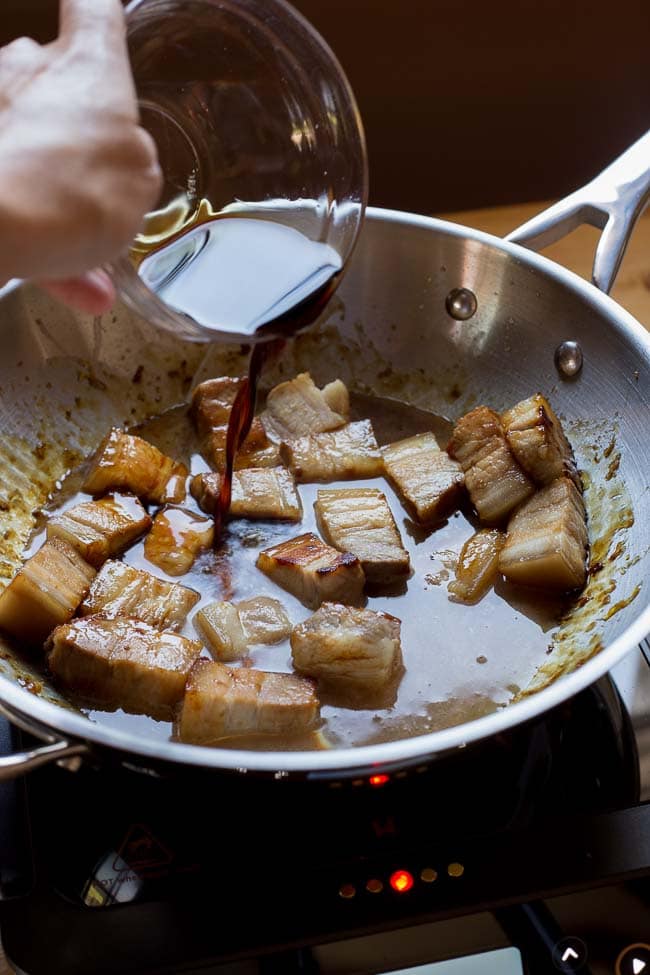
Adding the soy sauce, cooking wine, and stock to the pan. This is the key to your red-cooked pork belly.
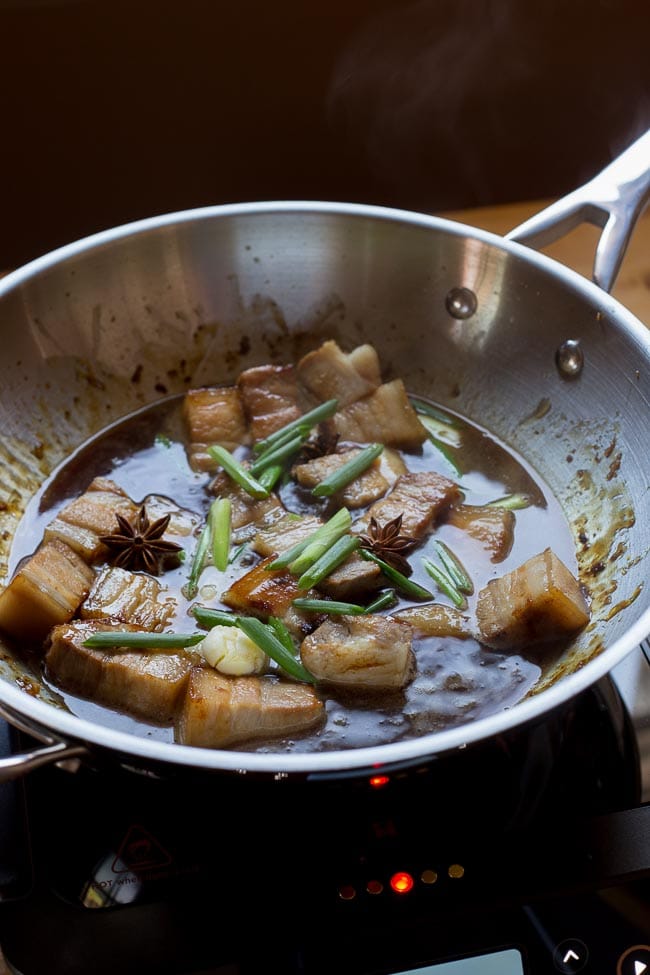
And the remaining ingredients. There will be a lot of liquid in the pan. It is a braise, after all!
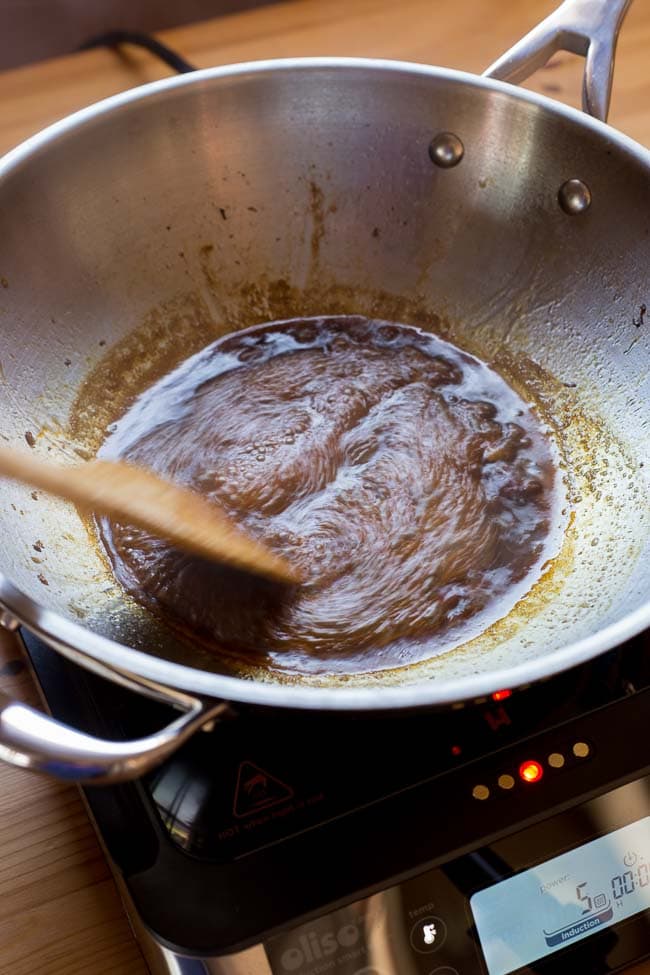
Once the meat is done braising, you need to reduce the sauce. Bring it to a boil and let the liquid evaporate.
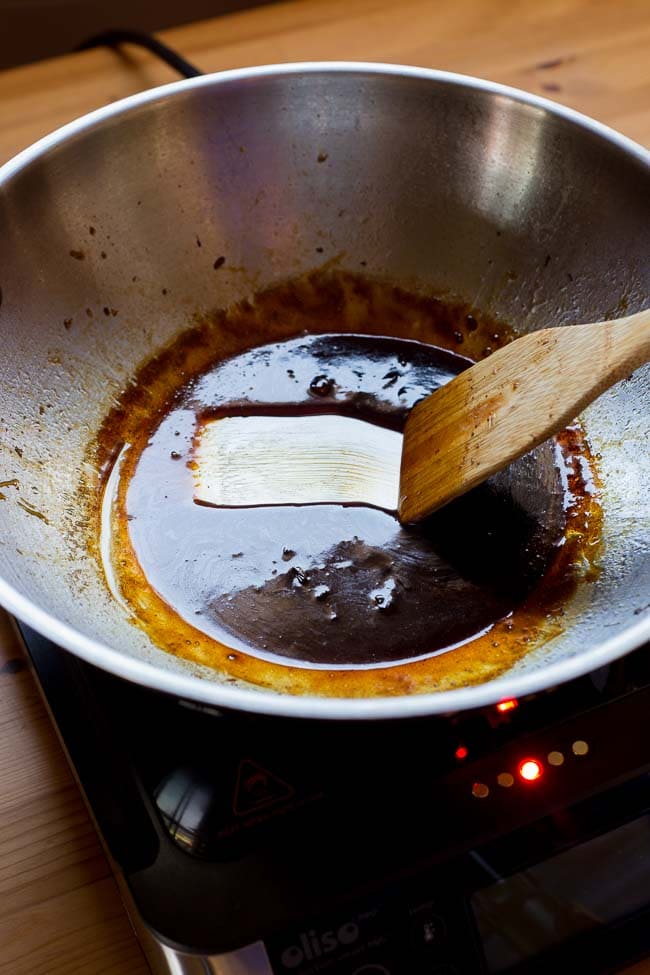
Now THAT’S a thickened sauce. It happens FAST, so keep an eye on it and don’t walk away!
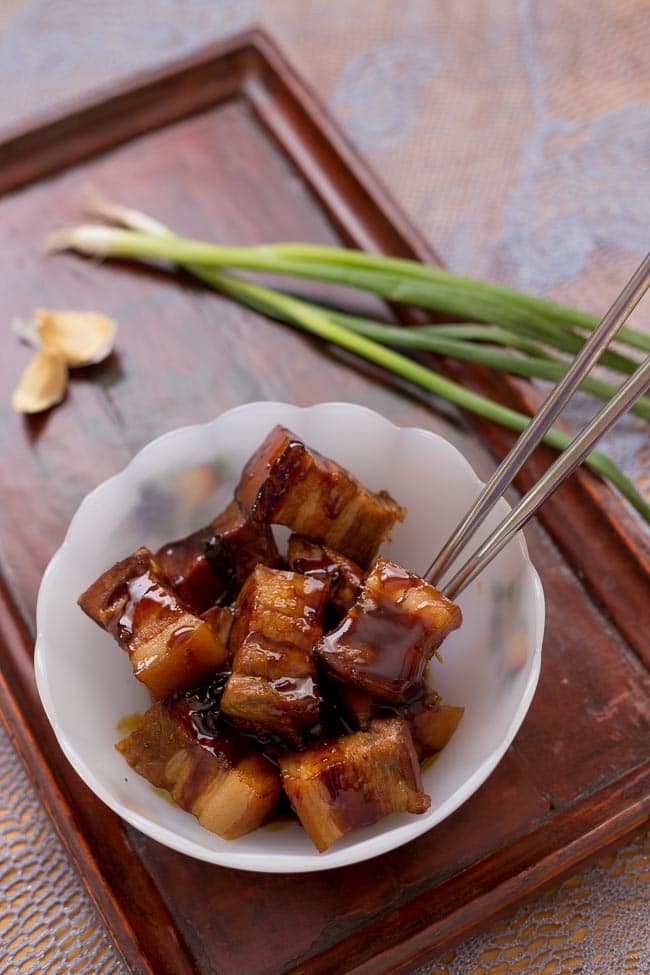
Voila, perfect red-cooked pork belly! So freaking good.
Red-Cooked Pork Belly Phoenix Claws and Jade Trees
For photos of how to recipe comes together, check out the body of the post.
Ingredients
- 1 1/2 pounds pork belly
- 2 tablespoons sugar
- 3 cloves garlic peeled
- 2 whole scallions cut into 2-inch-long pieces
- 3 whole star anise
- 2 tablespoons dark soy sauce
- 1 tablespoon soy sauce
- 1/4 cup Shaoxing cooking wine
- 1 1/2 cups liquid from the parboiling step or whatever stock you have handy, plus more as needed
- Cooked rice for serving
- Chopped scallions and cilantro sprigs for topping
Instructions
- Put the entire pork belly in a stockpot containing enough water to cover the meat completely. Bring the water to a boil, and then turn the heat to medium. Parboil the pork belly uncovered for 20 minutes. Continuously skim off the scum that forms on top of the water. Drain and cool the pork belly. Then cut it into pieces about 1 1/2-inches square.
- Melt the sugar and 3 tablespoons water in a wok over medium heat. Continue heating until the sugar just begins to turn yellow. Add the cubed pork belly to the wok and brown it with the caramelized sugar. Stir the meat regularly to prevent burning. Cover the wok with a splatter guard to prevent the fat from splattering.
- Add the garlic, scallion, star anise, dark soy sauce, wine and stock to the wok. Bring the liquid to a boil, and then transfer to a covered clay pot. Simmer over low heat, stirring the meat every 15 minutes to prevent scorching the pork at the bottom, for about 1 hour or until the meat is tender when pierced with a knife.
- Remove the meat and put in a bowl. Reduce the sauce over medium-high heat until it reaches the desired consistency. Return the meat to the wok and reheat before serving.
- Serve over cooked rice, topped with chopped scallions and cilantro sprigs.
Notes
* While the cooking time on this recipe says 2 hours, most of that time is hands-off cooking time and requires very little work. This is more of a weekend recipe, given the amount of time it needs to braise.
* This dish serves 4 as an appetizer, or 2 as a main course when paired with a vegetable dish. Nutritional anaysis is based on 4 appetizer portions
Nutrition
This content was originally posted on FearlessFresh.com.
